Table of Contents
Introduction
Are you prepared to step up the quality of your nails? Say goodbye to basic nail colors and hello to DIY luxury nail art! Creating stunning nail designs doesn’t have to be complicated or costly. With a few simple techniques and a touch of creativity, you can achieve salon-worthy nails in the comfort of your own home. In this blog post, we’ll explore some beginner-friendly techniques and styles that will elevate your nail art game to new heights.Prepare to let your creative side shine!
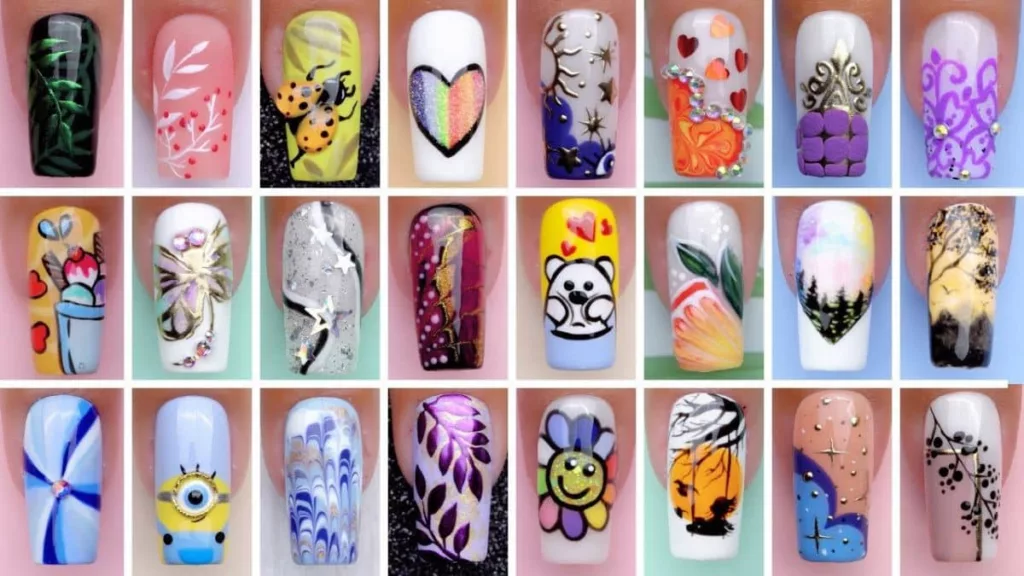
Marble Nails
Marble nails are all the rage, and the best part is, you don’t need any fancy equipment to achieve this elegant look. Here’s how to create marble nails step-by-step:
- Gather Your Supplies: You’ll need nail polish in two or more complementary colors, a small cup of room temperature water, toothpicks, and tape.
- Prep Your Nails: Apply a base coat to protect your nails and let them dry completely.
- Create the Marble Effect: Drop a few drops of each nail polish color onto the water’s surface. Use a toothpick to lightly swirl the colors together to create a marble pattern.
- Dip Your Nails: Carefully dip your nails into the water, allowing the polish to adhere to your nails. Using a toothpick, remove any extra polish from the water.
- Clean Up: Once your nails are dry, clean up any stray polish around your nails using a cotton swab soaked in nail polish remover.
Glitter Nails
Who doesn’t love a little sparkle? Glitter nails are a fun and glamorous way to add some pizzazz to your manicure. Here’s how to create glitter nails:
- Prep Your Nails: Apply a base coat to protect your nails and let them dry completely.
- Apply the Base Color: Choose a nail polish color as your base and apply two thin coats. Let it dry.
- Glitter Time: Apply a thin layer of clear nail polish or a glitter base coat to your nails. While the polish is still wet, sprinkle glitter onto your nails or use a small brush to apply loose glitter.
- Seal the Glitter: Once the glitter is in place, apply a top coat to seal and protect your design. This will also give your nails a smooth and glossy finish. Let it dry.
- Clean Up: Use a cotton swab soaked in nail polish remover to clean up any glitter that may have gotten on your skin.
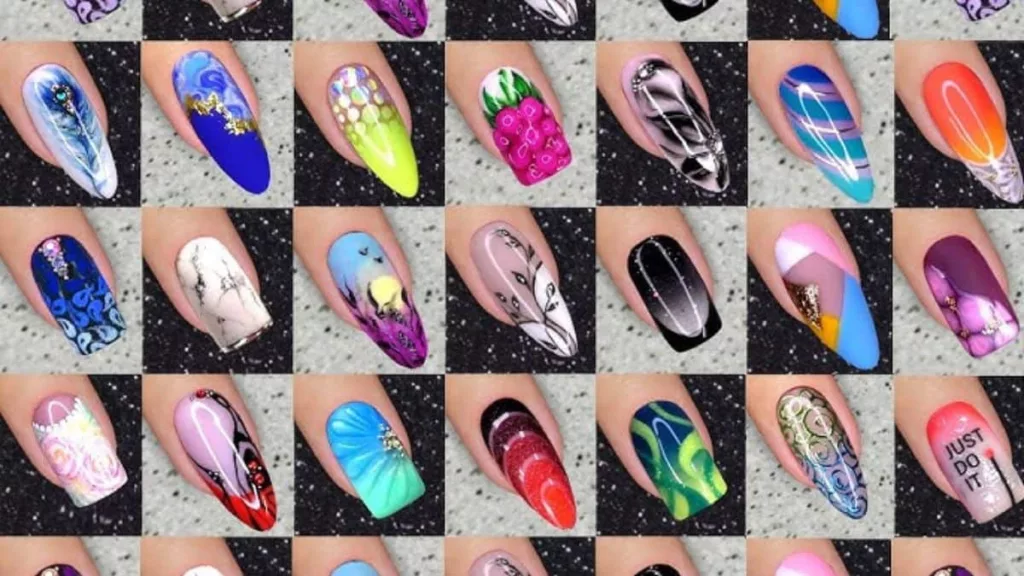
Stamping Nail Art
Stamping nail art is a great way to achieve intricate and detailed designs without having to freehand them. Here’s how to create stamping nail art:
- Gather Your Supplies: You’ll need a stamping plate with designs, a stamper, a scraper, and your choice of nail polish.
- Apply the Base Color: Apply two thin coats of your desired nail polish color and let it dry.
- Stamping Time: Choose a design on the stamping plate and apply nail polish to it. Use the scraper to remove any excess nail polish, then press the stamper onto the design to pick up the image.
- Transfer the Design: Gently roll or press the stamper onto your nail to transfer the design. Clean up any excess polish around your nail using a cotton swab.
- Seal the Design: Apply a top coat to seal and protect your design, giving it a glossy finish. Additionally, it will make the design last longer.
Nail Stencils
Nail stencils are an easy way to create intricate designs without the need for free-hand skills. Here’s how to use nail stencils:
- Prep Your Nails: Apply a base coat to protect your nails and let them dry completely.
- Choose Your Stencil: Choose a stencil that you like and carefully place it on your nail. Make sure to press down firmly to ensure the stencil stays in place.
- Apply Nail Polish: Using a small brush or sponge, apply nail polish over the stencil, making sure not to go outside of the stencils’ lines.
- Remove Stencil: While the polish is still wet, carefully remove the stencil to reveal your design. Let it dry.
- Seal the Design: Apply a top coat to seal and protect your design. This will also give your nails a smooth and glossy finish.
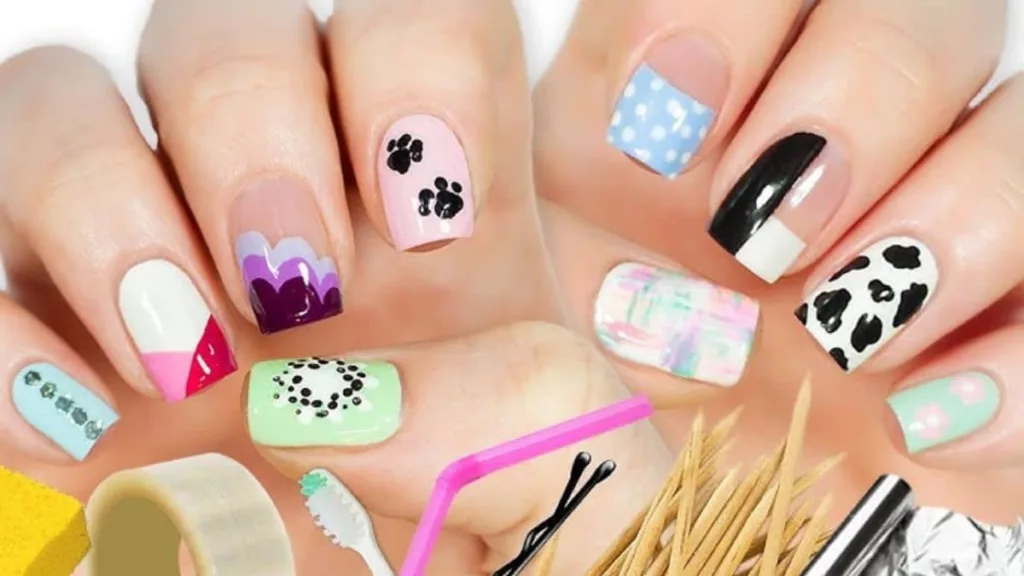
Now that you have some beginner-friendly techniques up your sleeve, it’s time to let your creativity flow and experiment with different colors, patterns, and designs. Don’t be afraid to mix and match techniques or add your twist to elevate your nail art game even further.
3D Nail Art
Create eye-catching, dimensional designs with 3D nail art. Here’s how to get started:
- Prep Your Nails: Apply a base coat to protect your nails and let them dry completely.
- Choose Your Medium: Explore different 3D nail art options such as nail gems, studs, beads, or pre-made 3D nail art decorations.
- Apply the Design: Using a small amount of nail glue or a top coat, carefully place the 3D elements onto your nails. You can create patterns, accent nails, or go all out and cover your entire nail with 3D designs.
- Seal and Protect: Once your 3D designs are in place, apply a top coat to seal and protect your nails. This will also ensure that your 3D elements stay in place.
With these beginner-friendly techniques, you can create stunning and unique luxury nail art without breaking the bank. Don’t be afraid to experiment with different colors, designs, and styles to find your perfect look. The possibilities are endless when it comes to DIY luxury nail art! So gather your supplies, let your creativity run wild, and get ready to rock some fabulous nails.
Dotting Technique
The dotting technique is one of the easiest and most effective methods for creating striking nail art designs. It is perfect for beginners looking to start their nail art journey. Here’s how to do it:
- Prep Your Nails: Apply a base coat to protect your nails and let them dry completely.
- Choose Your Colors: Select a base color and one or more contrasting colors for the dots.
- Apply the Base Color: Apply two thin coats of your chosen base color and allow it to dry.
- Dotting Time: Dip the tip of a dotting tool or a toothpick into your chosen dot color. Apply small dots onto your nails in your desired pattern.
- Seal the Design: Once your dotted design is dry, apply a top coat to seal and protect your nails. This will also give your design a smooth and shiny finish.
With these beginner-friendly techniques, you can easily create stunning luxury nail art in the comfort of your own home. You don’t have to break the bank to achieve beautiful and unique nails – all it takes is a little bit of imagination and the right tools. So go ahead, unleash your inner nail artist, and let your nails be the canvas for your creativity! Happy nail art-ing!
Nail Striping
Nail striping is a technique that uses striping tape to create clean, straight lines or intricate patterns on your nails. Here’s how to do it:
- Prep Your Nails: Apply a base coat to protect your nails and let them dry completely.
- Apply the Base Color: Choose a nail polish color as your base and apply two thin coats. Let it dry.
- Apply the Striping Tape: Cut pieces of striping tape and position them on your nails to create your desired pattern. Ensure the tape is well adhered to prevent polish from seeping underneath.
- Apply the Top Color: Apply a layer of another polish color over the tape. Remove the tape while the polish is still wet.
- Seal the Design: Apply a top coat to seal and protect your design.
With these beginner-friendly techniques and styles, you can achieve DIY luxury nail art without breaking the bank. Experiment with different designs and colors to find your signature style. And don’t forget to have fun and unleash your inner nail artist! So go ahead, gather your supplies, and get ready to take your nails from basic to beautiful in no time.
Other Techniques and Styles
The possibilities for DIY luxury nail art are endless. Here are some other techniques and styles to explore:
- Negative Space: Use tape or stickers to create negative space designs by leaving parts of your nails unpainted.
- Ombre Nails: Blend two or more colors using a makeup sponge to create gradient ombre nails.
- French Tips: Twist the classic French manicure by adding a pop of color, glitter, or geometric designs.
- Freehand Designs: Let your creativity run wild and create freehand designs using nail art brushes or toothpicks. The possibilities are endless!
- Water Marble: Create a unique marbled effect by dropping different nail polish colors onto the water and swirling them before dipping your nails into the mixture.
- Nail Stamping: Use pre-designed stamping plates and special stamping polishes to easily transfer intricate designs onto your nails.
If you are looking for the guidance like this post, you can go to Our Blog Posts
Remember, practice makes perfect. Keep experimenting and you’ll soon become a nail art pro! So go ahead, let your nails be your canvas, and express yourself with DIY luxury nail art. The options are limitless and the results will always leave you feeling glam and confident. Happy pampering!
Tips and Tricks for DIY Luxury Nail Art
- Patience is Key: Do not rush the process. Giving each layer of polish enough time to dry can be the difference between a smudge-free nail art design and a messy one.
- Quality Products: Investing in high-quality nail polishes and tools will ensure that your nail art lasts longer and looks more professional.
- Practice Makes Perfect: Nail art is a skill that gets better with practice.
- Use a Base Coat: A base coat can help prevent staining and can provide a smooth surface for your polish.
- Seal with Top Coat: A top coat adds luster and protects your nail art from peeling.
- Nail Clean-Up: Use a small brush dipped in nail polish remover to clean up any mistakes or polish that has gotten onto your skin.
- Experiment with Colors and Designs: Don’t be afraid to get creative. The best part about DIY nail art is the freedom to try new styles and techniques.
Remember, the main goal is to have fun while expressing your style. The more you practice, the better you’ll get at creating your DIY luxury nail art. Happy painting!
Bonus Tips
- Use scotch tape or nail strips to create clean and crisp lines.
- Don’t be afraid to mix and match colors and patterns for a unique look.
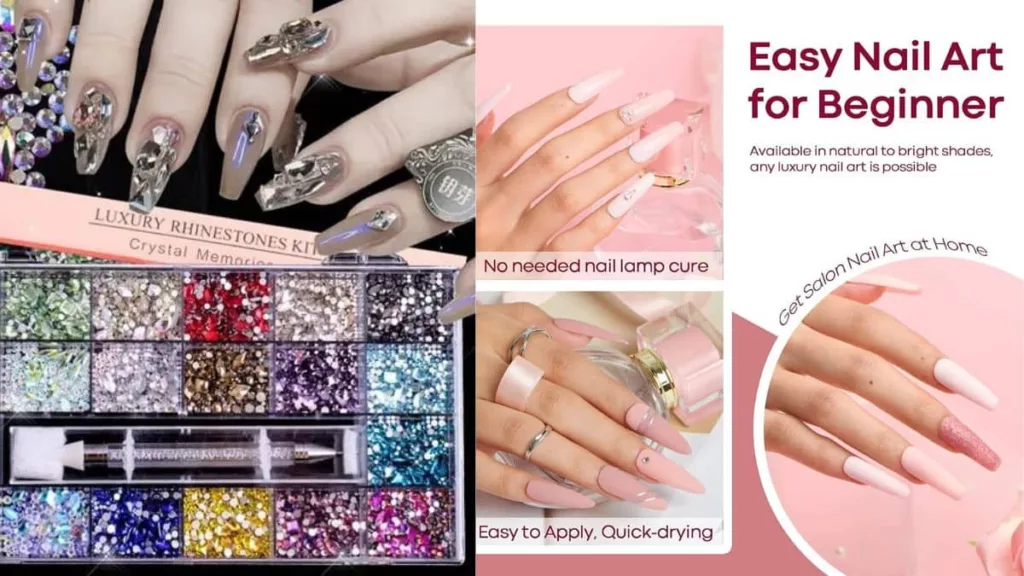
- Add some rhinestones, studs, or pearls to your design for an extra touch of luxury.
- Experiment with different top coats such as matte or holographic for a fun twist.
- Don’t get disheartened if your initial attempts aren’t flawless; practice makes perfect. Keep trying and have fun with it!
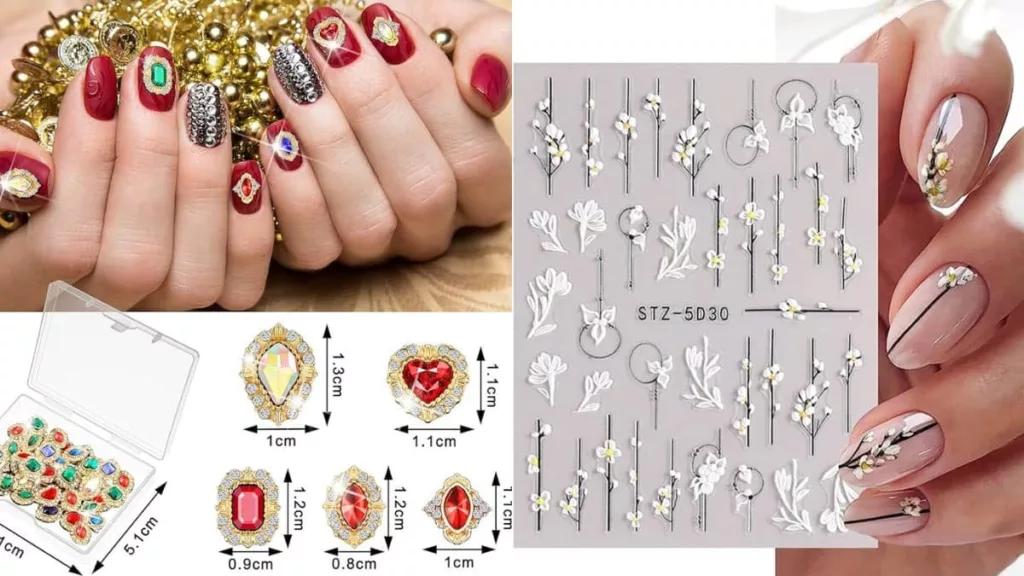
- Use Stickers: Nail stickers can be a quick and easy way to add intricate designs that might be difficult to paint by hand.
- Dotting Tools: Use a dotting tool or the head of a pin to create perfect dots or swirls on your nails.
- Mix Textures: Don’t limit yourself to just glossy finishes. Try matte, glitter, or even textured nail paints for a unique nail art look.
- Temperature-Responsive Polish: This fun polish changes color based on your temperature, adding a dynamic element to your DIY nail art.
- Magnetic Nail Polish: This innovative polish creates an amazing effect when used with a magnet. It’s a quick way to create a nail art look that’s luxurious and eye-catching.
- Use Holo Powders: Holographic powders can give your nails a stunning, light-reflecting finish. They can be mixed with clear polish or applied over a sticky base coat.
- Keep Your Tools Clean: Ensure your brushes and tools are clean after each use. This not only prolongs their lifespan but also helps to prevent color mixing.
- Protect Your Work Area: Use a washable mat or old newspaper under your hands to prevent any nail polish spillage onto your work surface.
Always remember, that nail art is a form of self-expression and creativity. So have fun, experiment, and don’t be afraid to step out of your comfort zone!
Conclusion
Now that you have some fabulous techniques up your sleeve, it’s time to unleash your inner nail artist. Remember that practice makes perfect, so don’t give up if your first tries aren’t ideal. With patience and creativity, you’ll see your skills improve in no time.
We can’t wait to see your stunning creations! Share your DIY luxury nail art on social media using the hashtag #DIYNailArt and let the world be inspired by your talent. Happy nail art-ing!
FAQ’s
1. What kind of nail polishes are best for DIY luxury nail art?
For DIY luxury nail art, it’s good to invest in high-quality, long-lasting nail polishes. This could include gel, magnetic, or temperature-responsive polish for added effect.
2. How can I ensure my nail art lasts longer?
Using a good quality top coat can help protect your nail art from chipping and increase its longevity.
3. Where can I find nail art tools?
Nail art tools such as brushes, dotting tools, and stamping plates are readily available online or in beauty supply stores.
4. I’m a beginner, where should I start with nail art?
Start with simpler designs like polka dots, stripes, or easy geometric patterns. As you gain confidence, you can experiment with more complex techniques like ombre or water marble.
5. How to clean up after doing nail art?
Use a small brush dipped in nail polish remover to clean up any overflow or mistakes. Also, protect your work area with a washable mat or old newspaper to prevent any nail polish spillage.
6. How do I use nail stickers?
Simply peel the sticker away from its backing and place it on your nail. Then apply a top coat to seal the sticker in place.
7. What’s the purpose of a base coat?
A base coat is used to protect your nails from staining and to provide a smooth surface for the polish.
8. How can I create a marble effect on my nails?
The water marble technique involves dropping different polish colors onto water, swirling them, and then dipping your nails into the mixture.
9. How can I create a luxury look with my DIY nail art?
For a luxurious look, add elements such as rhinestones, pearls, or glitter to your designs. Experimenting with textures and finishes can also enhance the luxury factor.
10. Any advice for someone new to nail art?
Practice is key. Don’t get discouraged if your first attempts aren’t perfect. The more you practice, the more proficient you will become. Remember to have fun and express yourself through your designs!